
For those of you who follow my art will know that I always look to paint on different materials and challenge myself on what to create next.
I had held on to pieces of sturdy cardboard (some would say why?) that were in a television box that protected each corner. The four pieces were just under 20″ each in length and too long for what I wanted to use them for so I cut them in half.
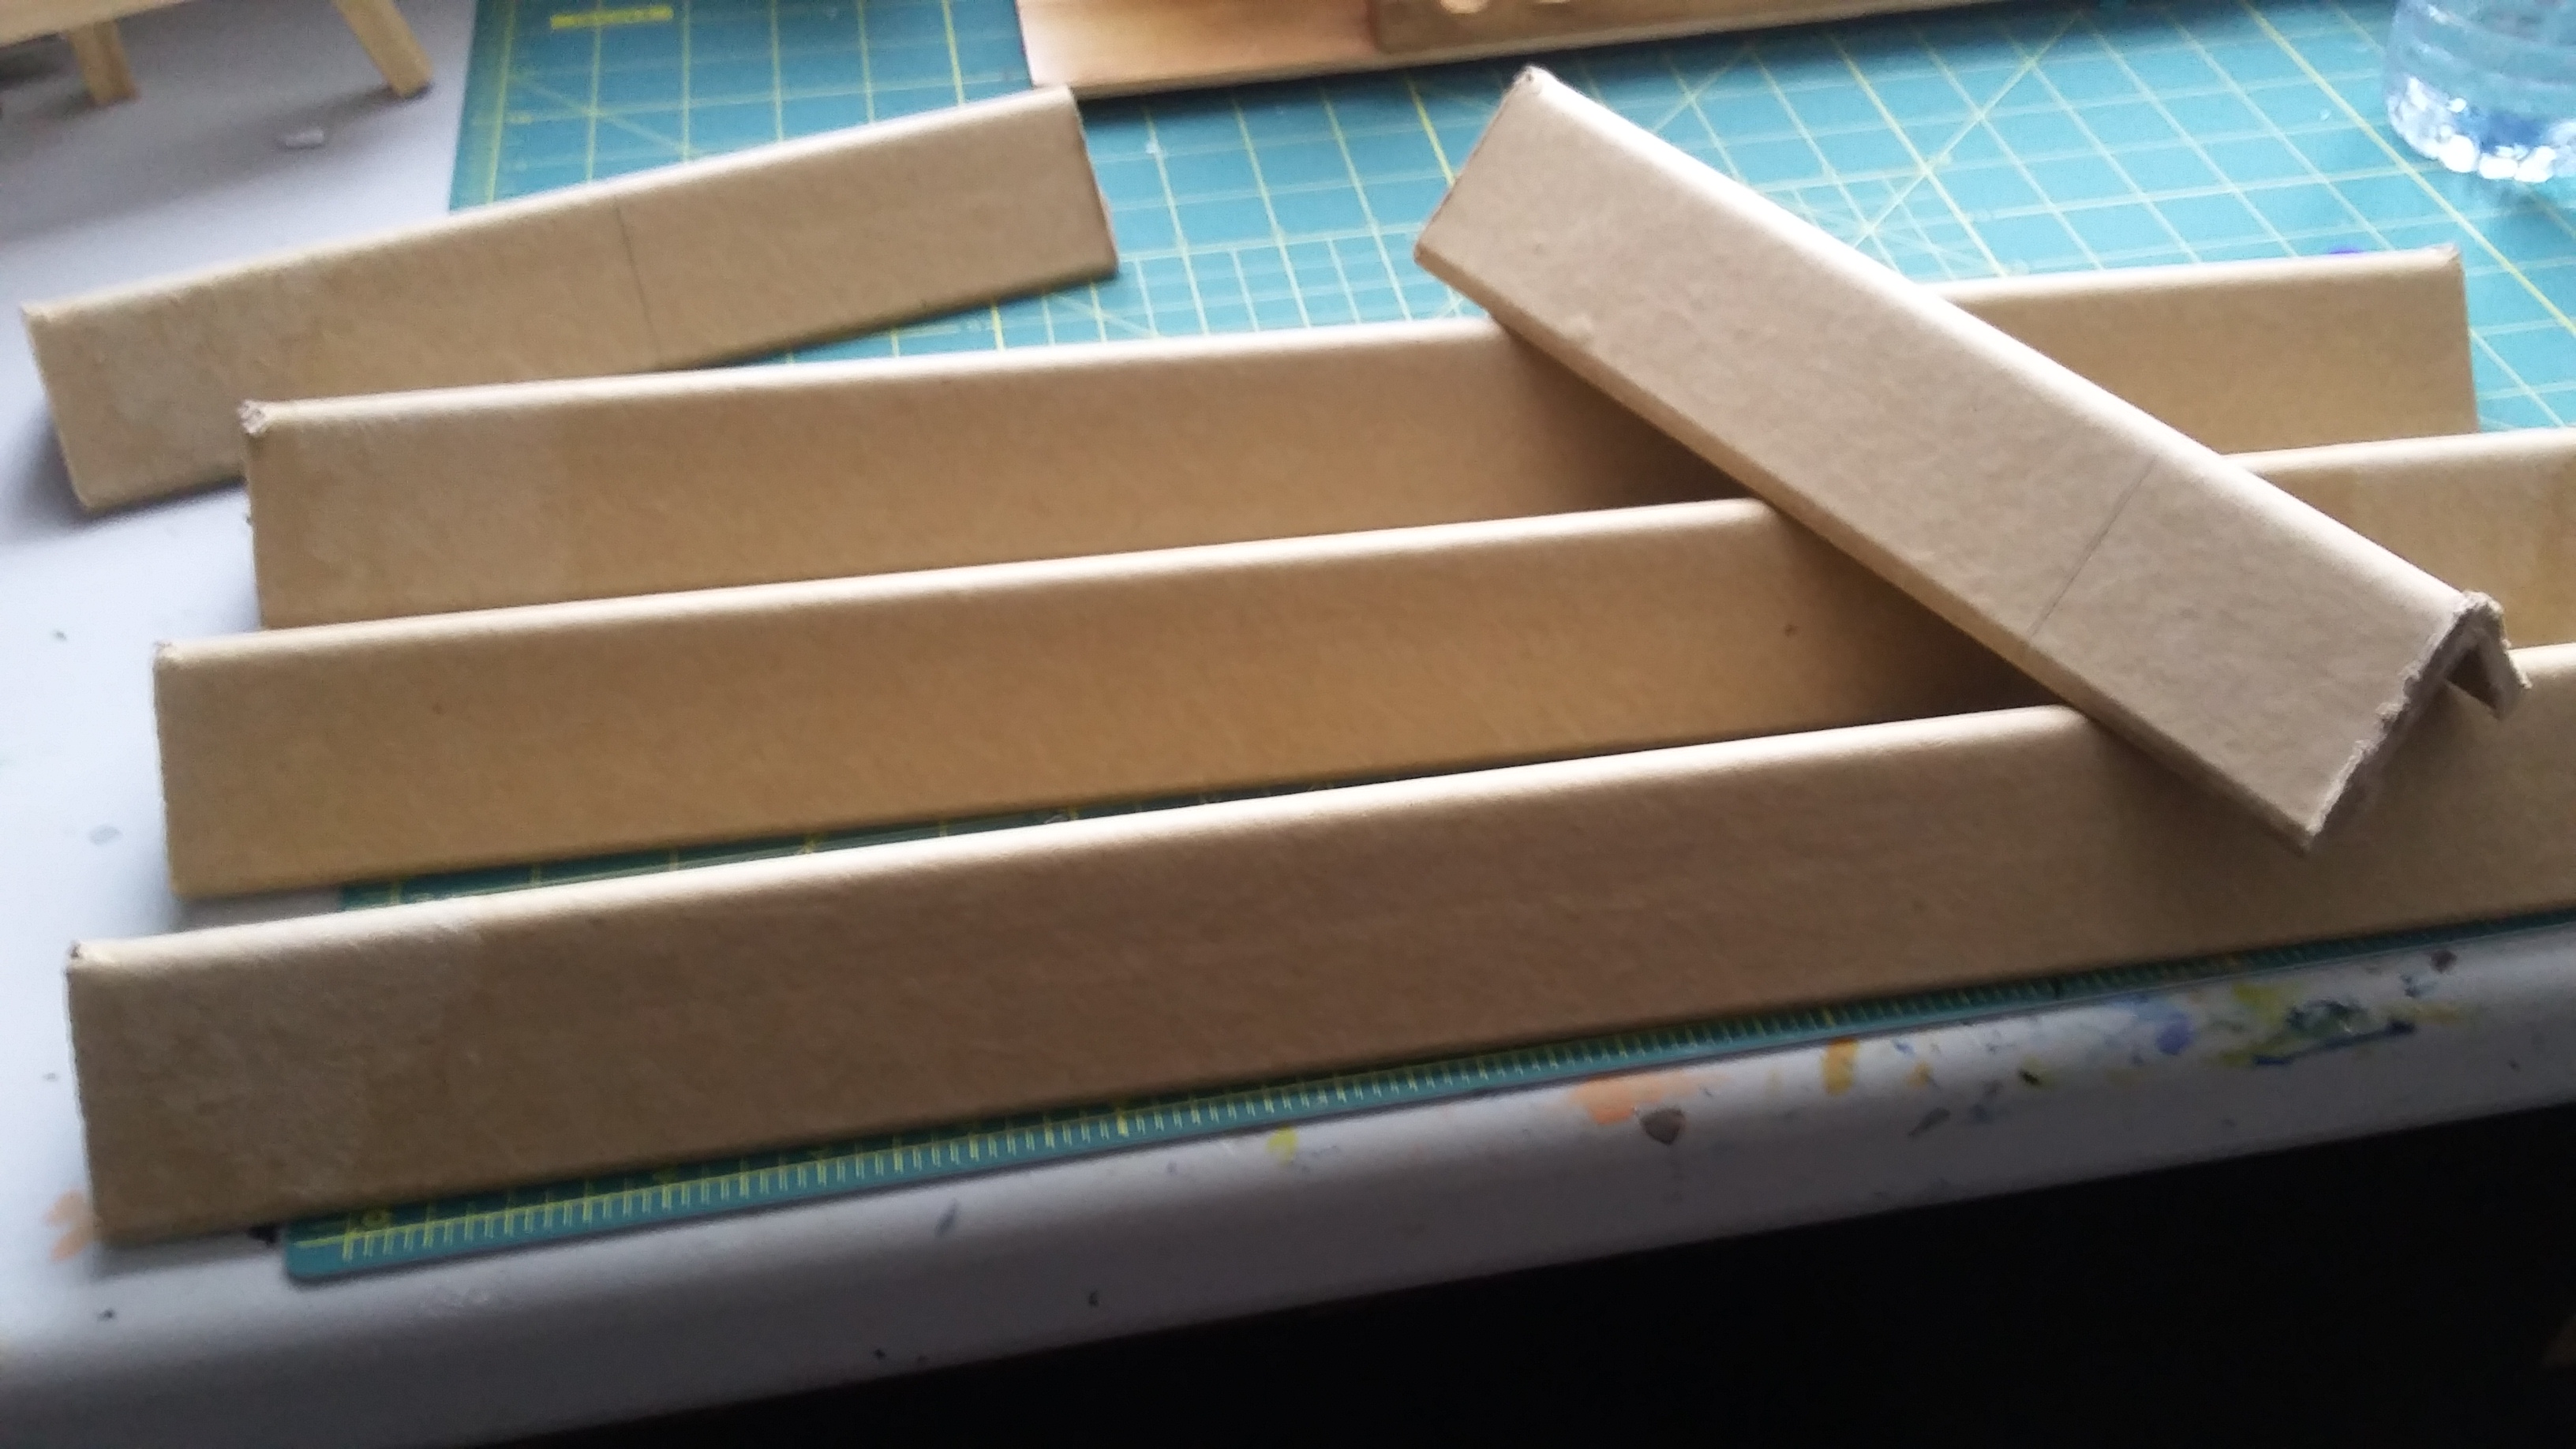
Once they were cut I covered them in several coats of gesso and let them dty.

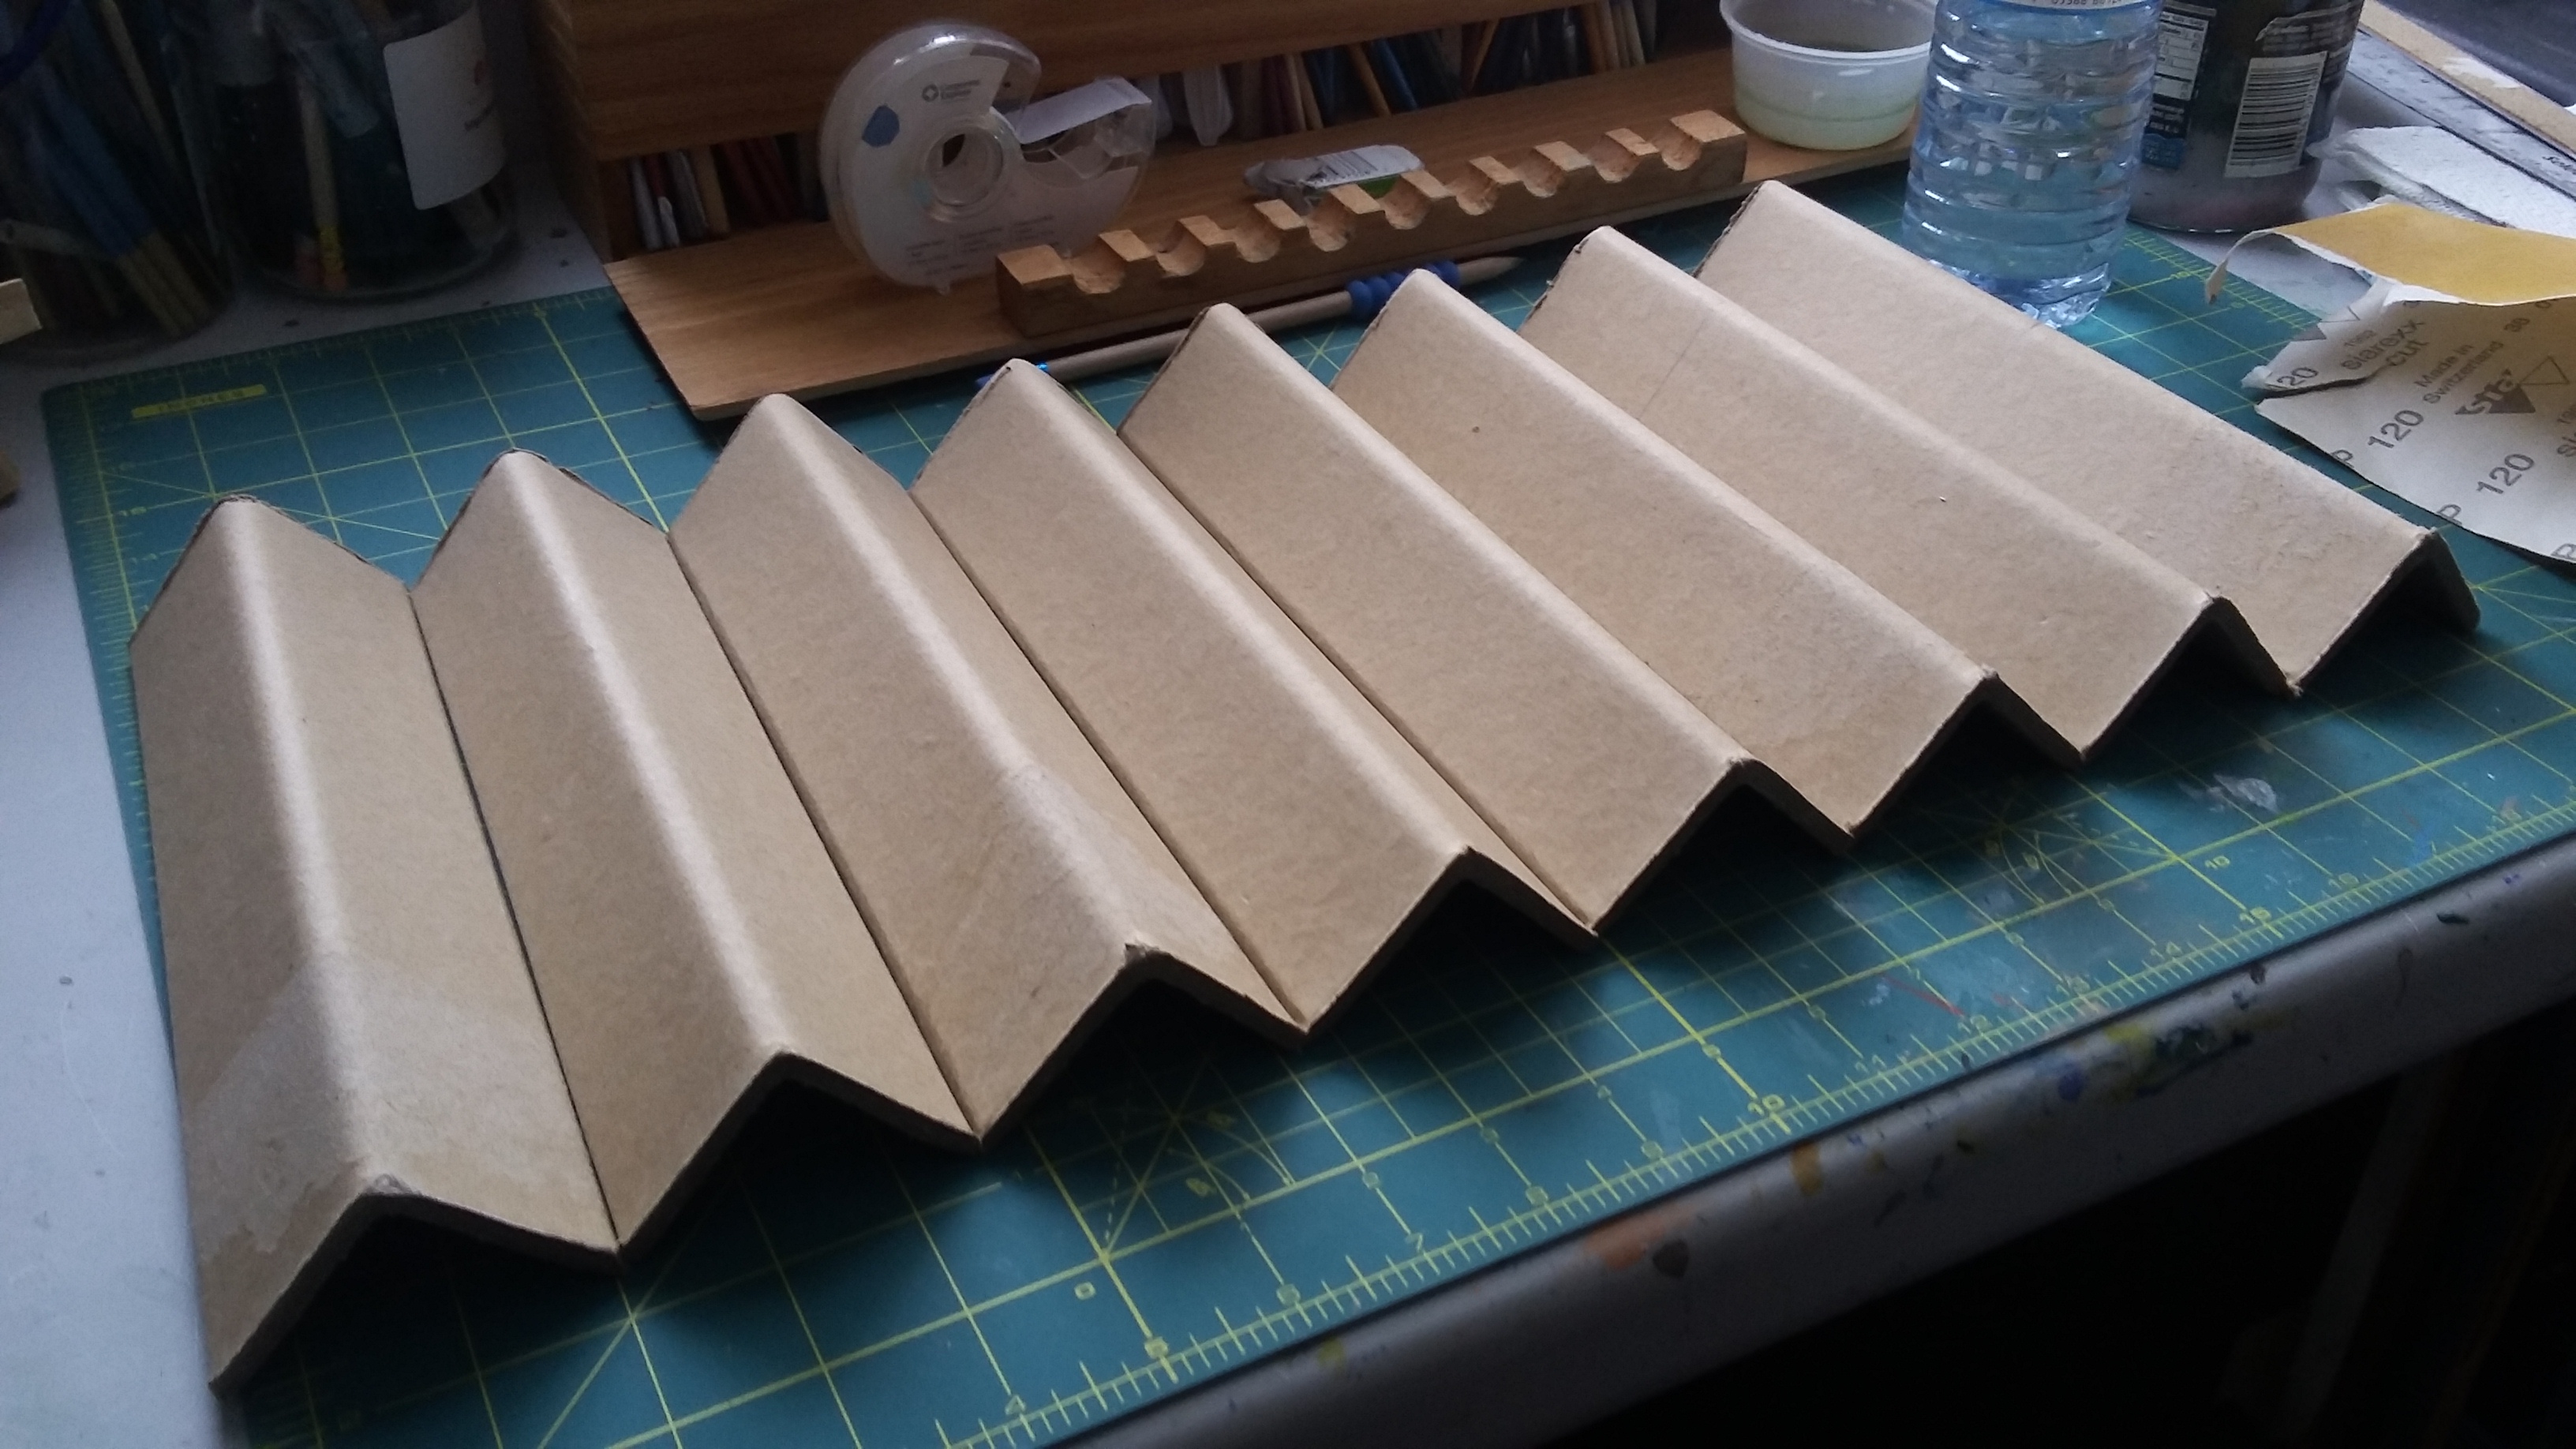
So, once my pieces were ready I had to come up with a way to put them together to do my first sketch. I used painter’s tape and with wood blocks for support did my first sketch. Of course, Peggy’s Cove was the perfect subject (was there any other choice?).


With the sketch done, I proceeded with painting.

The sky was first followed by the water and lighthouse.

Checking that the image lined up, I proceeded with the other image.


My dories, well technically not mine but my favorite subject.
Once they were painted I had to come up with a way of putting them together and unlike Red Green, duct tape was not going to cut it.

I used “L” brackets with wood plinths so that they would not pierce through the cardboard.
Once everything was attached I painted a canvas board black and put a wire at the top and bottom of the “L” brackets and attached it with holes at the back of the canvas.
I then varnished the entire piece and then put a black picture frame around it and it was ready to hang.

Obviously seeing it from the front view it really doesn’t make sense until you look at it from each side.


Stay creative and have a great weekend everyone.
Fabien
